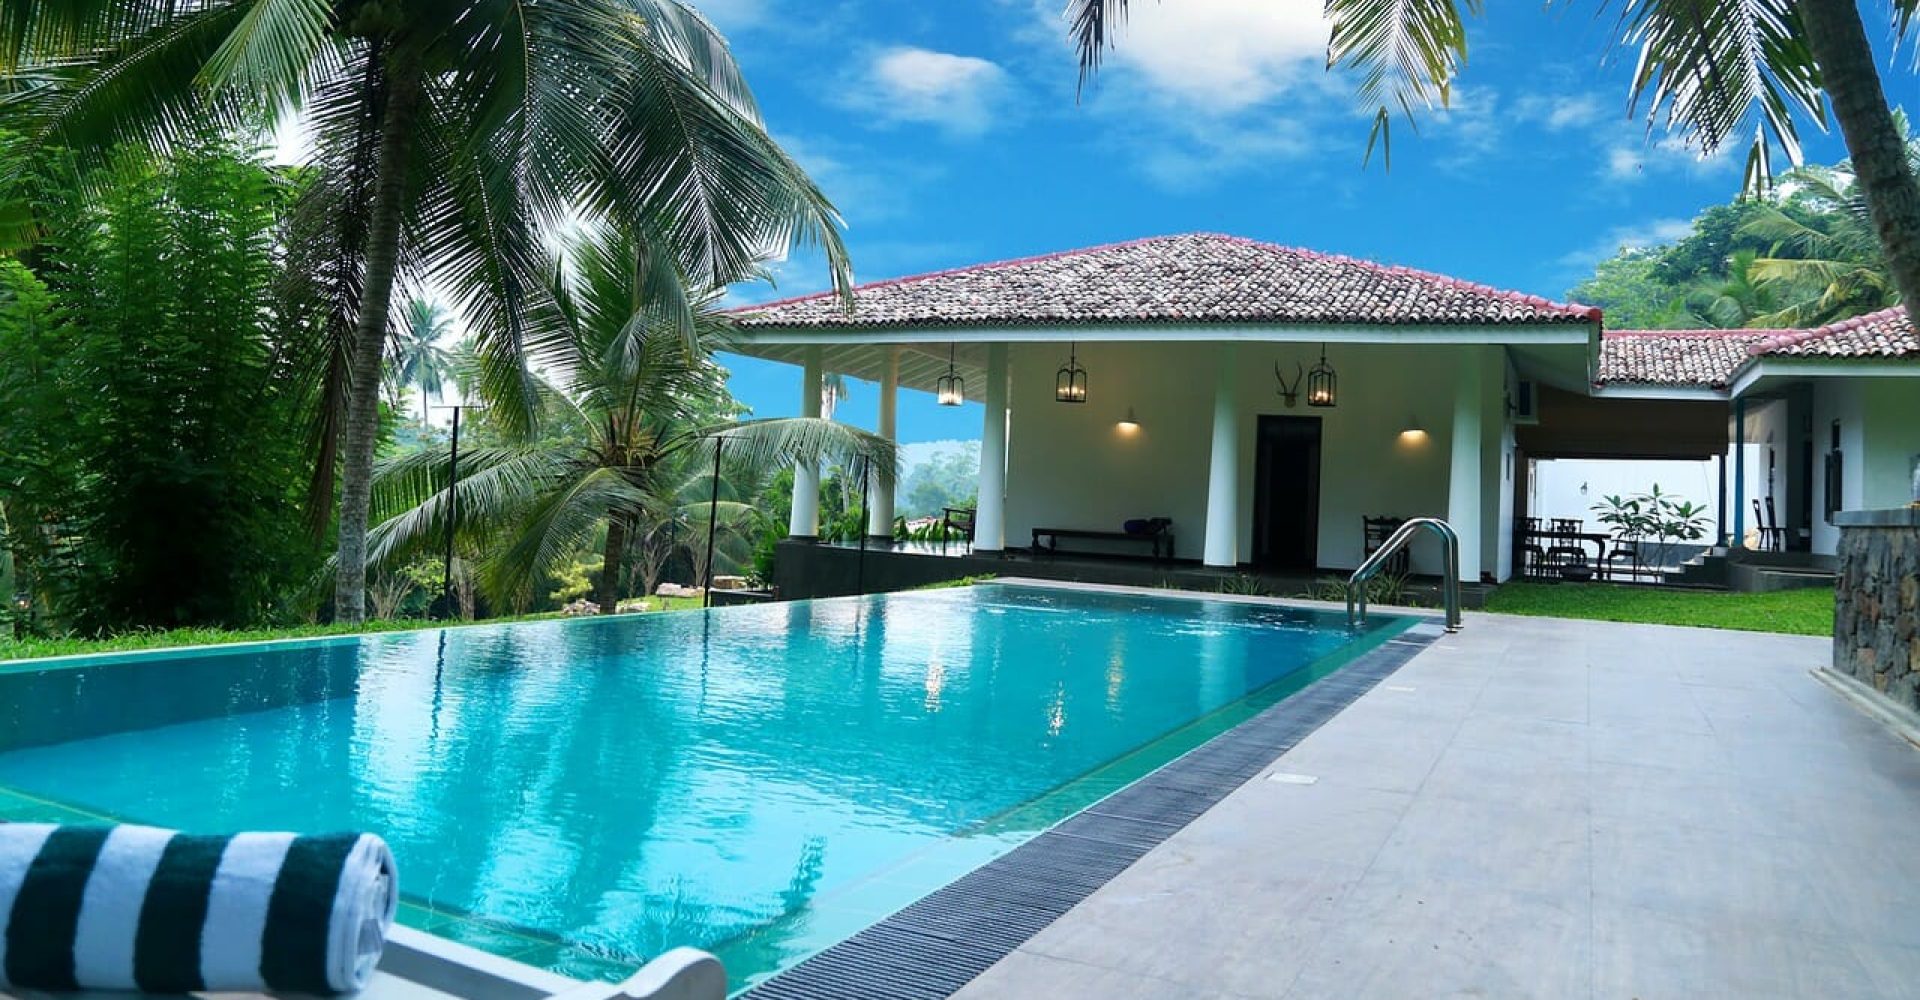
In Minnesota’s climate, pool pavilion plans should be started well before finalizing pool installation to consider frost depth, winter conditions, and long-lead materials. Pool season in Minnesota starts late spring, which means getting Minnesota building permits in the winter months is best. Site, roof, utilities, and budget decisions are best made early in the design process, including pavilion roof materials (cedar, metal, shingles), pool equipment enclosure, and backyard drainage and retaining walls.
In this guide, you’ll learn how a clear pool and landscape design timeline helps avoid permit delays and unexpected costs, so you can enjoy your pool pavilion when the season begins.
Pool pavilions, sometimes called poolside pavilions, are freestanding, covered structures that extend some or all of the shade, shelter, and utilities your pool house would provide next to your pool area.
In comparison to pergolas or pool houses, pavilions put the focus on comfortable covered outdoor living with pavilion lighting and electrical to support evening entertaining. They can even integrate outdoor kitchens, fireplaces, or heaters.
Pergolas are open-air structures for shade and aesthetics with minimal utilities.
Pool houses are fully enclosed, typically higher cost, and include shower facilities (plumbing), HVAC, and storage.
Consider a pavilion if your specific backyard lifestyle is centered on:
Explore more outdoor ideas in our pool pavilion design and photos gallery.
Site, size, and layout are the first big decisions that affect your guests’ comfort and style well before you get to material and utility selections. These early considerations must also consider setbacks, HOA rules if you have them, and general layout and furniture footprints.
Our pavilion size guide (12×16, 14×20, 16×24) can be used to determine the best fit for your poolside entertaining, dining, or lounge needs:
When you think about furniture footprint or changes in elevation near your pool, plan for at least three to four feet of space between where people or furniture end and the water’s edge. It’s always a good idea to integrate steps and walkways for circulation.

Choosing the right roof design and materials is critical for handling Minnesota’s heavy snow loads, freeze-thaw cycles, and seasonal weather shifts. Just as important is working with a roofing contractor who understands how these factors impact long-term performance.
There are a few different pavilion roof materials all offering varying durability, aesthetics, and winter performance:
Consider snow load rating Minnesota requirements when choosing your roof form. Anchoring into frost footings in Minnesota ensures stability through freeze/thaw cycles. Working with an experienced roofing company ensures these structural and material decisions are made correctly, helping prevent costly issues and ensuring your roof performs reliably through harsh winters.
Planning pavilion lighting and electrical early ensures code compliance and functional event spaces.
Lighting affects ambiance and dining zones, so be sure to consider ambient and task lighting with separate switches. Don’t forget to rough-in before concrete or decking to avoid future trenching.
Rough-ins for gas, water, drainage, and vents simplifies future kitchens, whether planning an outdoor kitchen pavilion now or in the future.
Freestanding or built-in fireplaces extend usability but require clearance from decks, furniture, or storage. Propane or gas fireplaces are easier to plan than wood for an outdoor fireplace pavilion.
Plan your pool equipment enclosure for chemicals, towels, and electronics. Built-in cabinetry or screened enclosures protect them from the elements.
City or county permitting typically requires:
Remember to call 811 for the utility locate for the pavilion before digging.
Footings must extend below the frost line (42-48 inches). Address backyard drainage and retaining walls to prevent water pooling.
Factor in HOA approval for the pavilion along with material and color choices. These should be factored into the construction timeline.
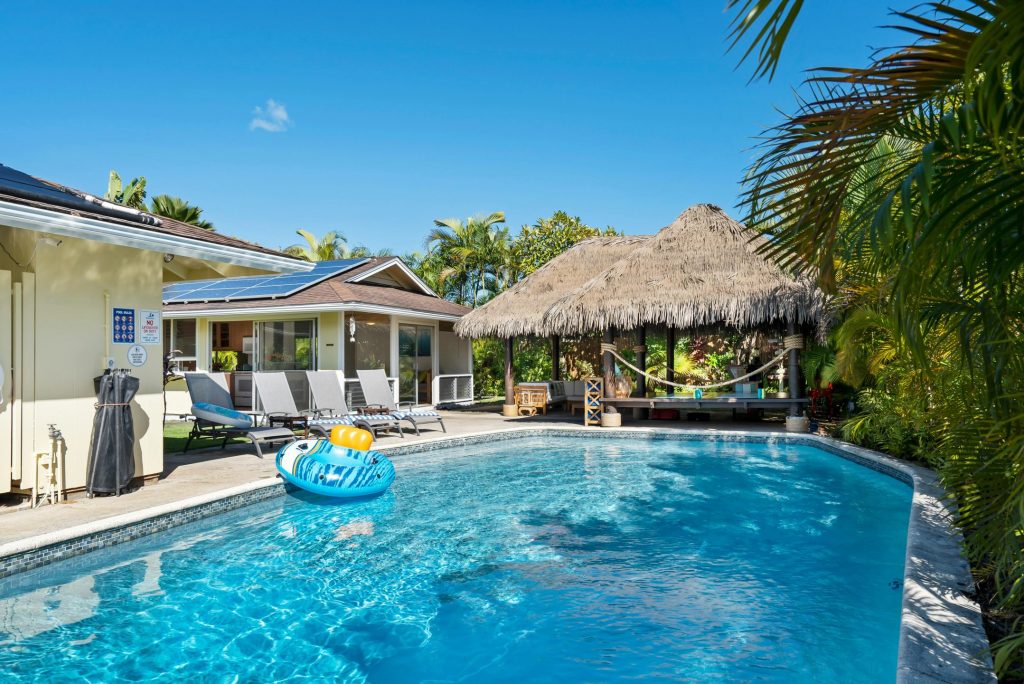
Pavilion building costs aren’t determined by size or materials alone. Adding a pool kitchen later can cost around 25-50% more than roughing it in during the initial pavilion build. Early planning for electrical, gas, and drainage runs, along with the necessary structural support and weatherproofing, helps control costs and prevents costly rework down the line.
Larger pavilion sizes and longer structural spans naturally increase framing complexity and require additional support elements such as beams, rafters, and purlins, all of which increase overall roofing and labor costs.
Metal roofs, while durable, often need reinforced framing and come at a higher material cost. Integrating electrical, gas, or water rough-ins during construction also impacts the total budget, even if those utilities are planned for future use.
Finally, design finishes like flooring, siding, lighting, and heaters all contribute to the overall budget for pool pavilion planning.
Add-ons like kitchens, fireplaces, screens, and skylights require planning but can be phased to save cost.
It’s possible to phase your build and start with a separate pool pavilion shell as an early project, with a four-season outdoor kitchen or outdoor fireplace build phase for a later season or budget. Roughing in utilities or cabinetry during pavilion construction avoids future rework. Coordinate with your design-build landscape contractor in MN, like Tracer Pool & Landscape, for phased construction.
Coordinate your pool and landscape design timeline for a realistic spring 2026 break ground using this sample schedule:
Don’t forget to speed up scheduling by securing your financing and long-lead materials early to lock in both your contractor and schedule.

Most structures with footings, like pavilions or pergolas, must have a building permit in Minnesota, which usually includes submitting a site plan, footings details, and roof structure.
While some pergolas may be allowed without footings in Minnesota, permanent pavilions need footings to prevent freeze/thaw heaving.
12×16 pavilions are a common starting size for dining zones or six to eight guests. 14x20s are a good next size up for lounge zones with a smaller outdoor kitchen. 16x24s can be multiple zones with dining, lounge, and sometimes a separate fireplace/firepit seating area.
Gable roofs or hip roofs shed snow the best and take advantage of simpler roof structure options, while flat roofs require proper drainage and engineering for snow load.
Yes, rough-in for gas, water, drainage, and even chimney or vent hood space under the pavilion roof first will make adding a separate outdoor kitchen 25-50% less expensive than trying to add this after a pavilion build is complete.
Pavilions typically need three to four feet or more of circulation space, which also counts as safety clearance, between furniture or seating footprints and the pool edge.
Pool houses are fully enclosed and weatherproofed, like a traditional building. Pool pavilions are partially open and focus more on the open-air experience next to your swimming pool.
Design, HOA, and utility locates typically take two to three months if started early.
Starting your pool pavilion, outdoor kitchen pavilion, or outdoor fireplace pavilion now will ensure that your design process moves fast and stays on track in order to have your pavilion break ground in late spring for a 2026 summer build season.
For design inspiration, permitting details, or a full consultation on pool pavilion ideas, review our pool installs and design services for more ways to turn your 2026 pool pavilion plans into real backyard living and gathering space. Contact Tracer Pool & Landscape today to book your pool pavilion consultation.